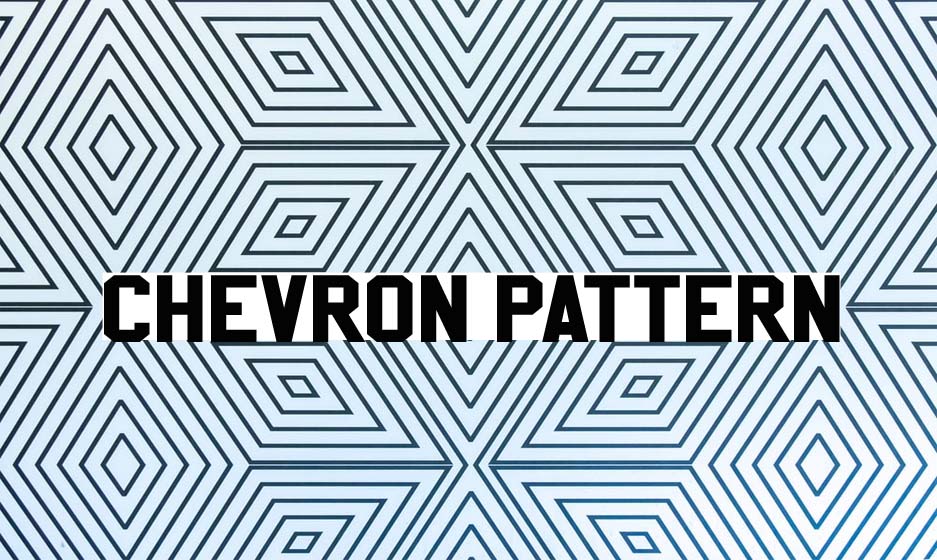
We are always in search of fresh patterns to use for our clothing, flooring, beddings, and all that; something that gives us great pleasure that when been showcased, it tends to put everybody in awe. That one trend that has always been there, this never-ending trend that never seems to go out of style is the chevron pattern is the one. Despite how long the chevron pattern print has been on the market, it’s still the people’s choice making it so popular.

Chevron Pattern
The chevron pattern looks like an overturned V pattern having both sides touching each other which results in a flawless zigzag pattern. What makes it so unique, is its ability to pair with other patterns; the chevron pattern print goes along with major pattern s like stripes, leopard print, checks, dainty floral, paisley, graphic floral, and so on.
How to Make a Single Chevron Pattern Stitch
To create a chevron pattern stitch, you need knit stitches and purl stitches. With these stitches, you create wavy lines much more like a zigzag pattern across your knitting. To make it stylish, I will recommend using different color and follow these easy steps as I would be calling the knit and purl stitches ask and p stitches respectively:
- Starting from the right side, knit the first p stitch with the k stitch, then, repeat it again from row to the end
- Knit the first k stitch on the second row with the fifth stitch, first k stitch, and the first p stitch, then, repeat it again from row to the end
- From the third row, knit the second k stitch, first p stitch, third k stitch, first p stitch, and first k stitch, then, repeat it again from row to the end
- On the fourth row, knit the second purl stitch, first k stitch, first purl stitch, first k stitch, and third p stitch, then, repeat it again from row to the end
If you can go on with these four rows, you will definitely create a single chevron pattern stitch. With this single chevron pattern stitch, you can make colorful hats, bed and pillow covers, scarves, sweaters, and so on.
How to Make a Friendship Bracelet Using Chevron Pattern Print
One of the most popular friendship bracelet patterns you can ever find is the chevron pattern. The chevron pattern bracelet is one kind of bracelet that tends to take your breath away. Making such an amazing bracelet is not as easy as you think but you just need a few things like scissors, 6 threads of 3 different colors, a tape to hold something down, and a ruler.
- Cut each of the colored threads to 50 inches.
- Fold the threads in half and create a knot right at the top thereby creating a loop
- Then, place a tape on the knot to hold it in place.
- Arrange the thread in such a way that the threads on the left should reflect the other side like a mirror.
- Starting from the left thread, pick the first thread, let’s say ‘red’. Create a knot with the second one by going under and all the way through the hole, and then draw it tight. After that, make another knot.
- With the same thread, create a knot with the 3rd thread following the previous step.
- Once you’ve reached the center, likewise do the same for the right.
- Create two knots with the two center thread which will be of the same color
- Keep on following the pattern again and again starting from the left to the center of which you will stop then start at the right down to the center. Afterward, you knot the two center threads.
- Keep on knotting till you get to the length of your choice, and then tie it around your wrist.
- With the scissors, cut any thread that remains.
Now that you have made just one for yourself, make another for your friend following the same step so that both of you can have a chevron pattern bracelet on your wrist.
